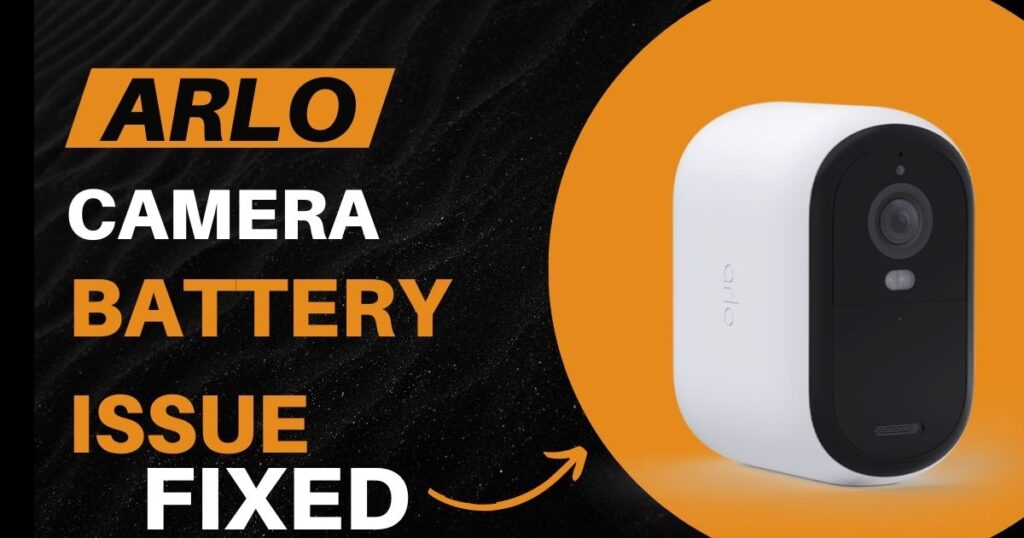
When the battery of your Arlo camera is not charging the Arlo camera will not function properly and it can disrupt your home security. In this guide, we have provided actionable troubleshooting steps to fix your Arlo camera charging issues quickly.

Understanding Arlo Camera Battery Types and Charging

Arlo cameras come in various models with different battery types:
- Arlo Ultra, Pro 3 & Pro 4: Rechargeable lithium-polymer battery (3.85V, 4800mAh). These require the Arlo Ultra Rechargeable Battery (VMA5400) for charging.
- Arlo Essential (including XL): Built-in, non-removable rechargeable lithium-polymer battery (3.63V, 5100mAh). Refer to Arlo’s guide on charging Essential cameras.
- Arlo Pro 2 & Pro: Rechargeable lithium-ion battery (7.2V, 2440mAh). Use the Arlo Pro and Pro 2 Rechargeable Battery (VMA4400) for charging.
- Arlo Go: Rechargeable lithium-ion battery (7.2V, 3660mAh). Requires the Arlo Go Rechargeable Battery (VMA4410). Important: Batteries for Arlo Go and Pro cannot be interchanged.
- Arlo Wire-Free: Uses four non-rechargeable CR123 lithium batteries (3V). Arlo offers Tenergy-branded rechargeable CR123A batteries (marked “Works with Arlo”) as an alternative.
Using the correct charger is crucial. Notably, Arlo Pro cameras require a Qualcomm Quick Charge compatible charger for optimal charging speed.
ARLO CAMERA BATTERY NOT CHARGING (step-by-step Troubleshooting)

Follow this step-by-step guide to troubleshoot your Arlo camera charging issues:
Basic Checks:
- Secure Connections: Double-check that both the battery is firmly seated in the camera and the charging cable is securely plugged into both the AC outlet and your camera.
- Weatherproofing: Ensure the USB port cap on your camera is tightly sealed before placing it outdoors to prevent moisture damage.
- Clean Contacts: Use a dry cloth to gently remove any dirt or debris from the battery contacts and the charging port on the camera. A clean connection is essential for proper charging.
- Verify Online Status: Open the Arlo app and check if your camera is online. If online, it should display a charging icon next to its name. If the camera is offline, you might be dealing with a connectivity issue rather than a charging problem.
Advanced Troubleshooting:
- Battery Removal and Re-insertion: Power down the camera (if possible) and remove the battery. Re-insert the battery after waiting for 10 seconds. Finally, plug the charger back in and check the Arlo app for a charging indication.
- Isolate the Problem: If the previous step didn’t work, try using the same charger with a different Arlo camera (if available). This helps identify whether the issue is with the camera or the battery.
- Charging Success: If the other camera charges, the problem likely lies with the original camera. Contact Arlo support for further assistance.
- No Charging: If the other camera also fails to charge using the same charger, the charger itself might be faulty. Try using a different compatible charger with the original camera.
Understanding LED Light Behavior:
The LED light on your Arlo camera can provide clues about the charging status:
- Solid Amber Light: This indicates normal charging.
- Quickly Blinking Amber Light (3 seconds): This suggests a potential issue with dirty contacts or a faulty outlet. Clean the contacts again and try using a different outlet. If the problem persists, please get in touch with Arlo support.
Addressing Completely Dead Batteries:
In rare cases, a completely depleted battery might require a specific charging procedure:
- Power Down and Disconnect: Remove the battery from the camera and unplug the charger from the wall outlet.
- Reconnect Charger: Plug the charger back into the wall outlet only (without the battery).
- Re-insert Battery: After a few seconds, re-insert the battery into the camera and then plug the charger back into the camera.
- Monitor Charging: Observe the LED light for charging indications. If charging doesn’t initiate, contact Arlo support for further assistance.
Additional Tips:

Here are some additional tips to keep your Arlo camera running smoothly:
- Surge Protection: Consider using a surge protector for the outlet powering your Arlo camera charger. This provides extra protection against electrical fluctuations that could damage your camera or charger.
- Battery Replacements: Arlo batteries have a typical lifespan of 2-3 years, depending on usage patterns. If your camera isn’t holding a charge as well as before, it might be time for a replacement. Always use genuine Arlo batteries to ensure compatibility and optimal performance.
- Arlo Support Resources: For further assistance or troubleshooting specific to your camera model, Arlo offers a wealth of resources. Visit their support website https://www.arlo.com/en-us/support or contact their customer service team.
- Check Warranty: If your camera is still under warranty, Arlo might offer a replacement battery or camera depending on the diagnosis.
By following these steps and understanding the LED light behavior, you should be able to diagnose and fix the most common charging issues with your Arlo camera. Remember, if the problem persists, don’t hesitate to reach out to Arlo support for further assistance.
How do you revive a dead Arlo battery?
Unfortunately, there’s no guaranteed method to “revive” a completely dead Arlo battery. However, for deeply discharged batteries, you can try:
Specific Charging Sequence: Remove the battery, unplug the charger, reconnect the charger to the outlet only (without the battery), re-insert the battery, and then plug the charger back into the camera. Observe the LED light for charging signs.
Clean Contacts: Ensure clean contacts on both the battery and camera to eliminate connection issues.
If these steps fail, the battery might be beyond recovery. Consider a replacement with a genuine Arlo battery for optimal performance and safety.
Can you replace Arlo batteries?
Yes, Arlo batteries are replaceable. However, the replacement process depends on your camera model:
Removable Batteries (Arlo Ultra, Pro 3, Pro 4, Go): Purchase a compatible Arlo replacement battery for your specific model (e.g., Arlo Ultra Rechargeable Battery for Arlo Ultra cameras).
Non-Removable Battery (Arlo Essential): The battery in Arlo Essential cameras is built-in and not user-replaceable. If your Essential camera isn’t holding a charge, contact Arlo support for service options.
Can Arlo run without battery?
Arlo cameras generally require a battery for initial setup and operation. However, some models can function without a battery once powered using an external power cable:
Compatible Models: Arlo Ultra, Ultra 2, Pro 3, Pro 4, and Pro 5 cameras can be powered continuously with an Arlo outdoor AC power adapter (purchased separately).
Important Note: While these models can run on continuous power, the battery still plays a crucial role. Even with continuous power, the battery provides backup during power outages, ensuring your camera remains operational.
Conclusion:
Don’t fret over a non-charging Arlo camera! Most charging issues can be resolved with basic troubleshooting:
- Verify secure connections and clean contacts.
- Check the online status in the Arlo app and LED light behavior.
- Try removing and re-inserting the battery or using a different charger.
By following these steps, you should be able to diagnose and fix common charging problems.
RELATED POSTS:
How to Sync Arlo Cameras “Detail Guide 2024”
