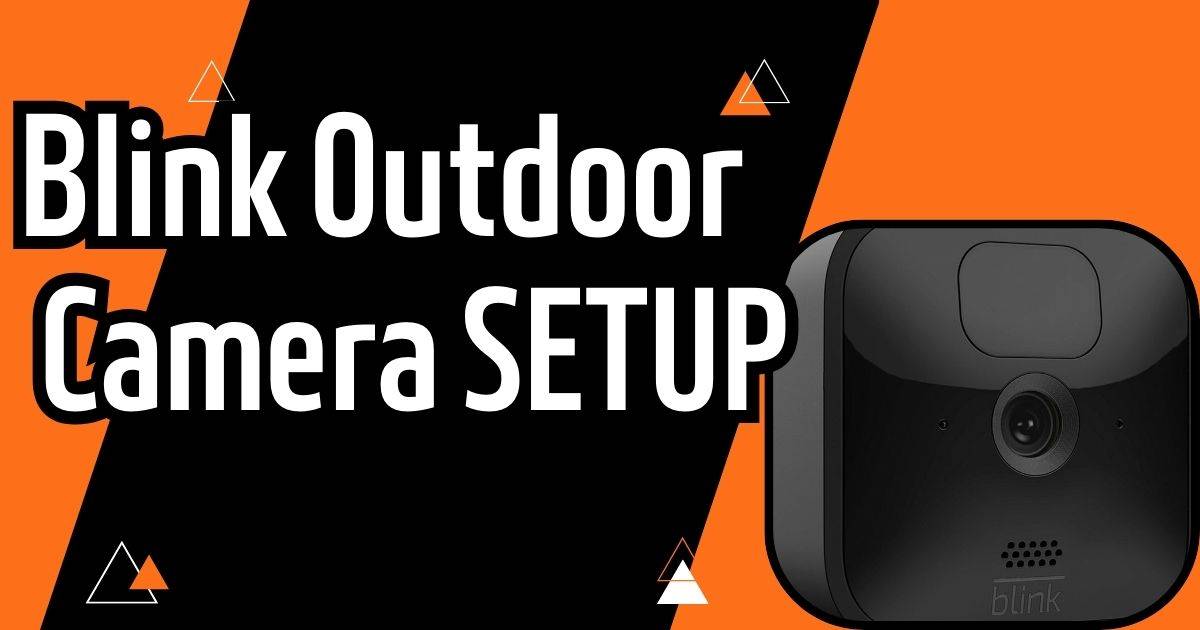
Wondering how to maximize your Blink Outdoor Camera’s capabilities? Look no further! Blink cameras offer impressive customization, but the “Best Settings for Blink Outdoor Camera” can significantly enhance your security experience. By optimizing these settings, you can capture crystal-clear footage, receive only the alerts that matter, and even extend battery life. This guide unveils the secrets to fine-tuning your Blink camera, empowering you to build a personalized security system and achieve ultimate peace of mind.
Optimizing Image and Video Quality
Your Blink Outdoor Camera boasts impressive image and video capabilities, but fine-tuning the settings unlocks its full potential. This section empowers you to strike the perfect balance between crisp visuals, efficient storage usage, and extended battery life.
Finding the Right Resolution: A Balancing Act
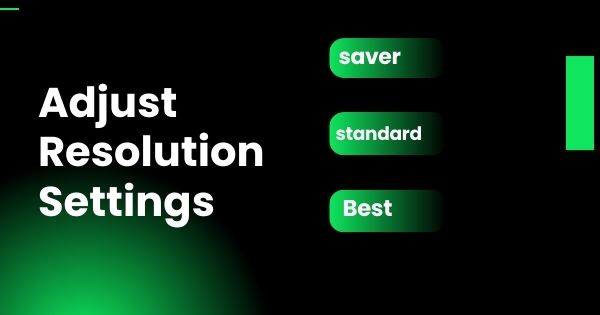
Blink cameras offer three resolution options, each catering to different needs:
- Saver (480p): Ideal for minimizing storage space, perfect for low-traffic areas where a general overview suffices. However, image details might be less clear.
- Standard (720p): The sweet spot for most users. It delivers high-definition (HD) quality footage that captures essential details without consuming excessive storage.
- Best (1080p): This setting provides the sharpest, most detailed recordings, ideal for capturing license plates or identifying specific objects. Keep in mind that it requires more storage and may drain the battery faster.
Pro Tip: For areas requiring maximum detail, consider setting the camera to “Best” resolution. For less critical zones, “Standard” offers a good balance.
Daytime Brilliance: Tips for Crisp Images
- Clear View, Clear Recordings: Position your camera strategically to avoid obstructions and ensure a clear view of the monitored area.
- Lens Maintenance Matters: Regularly wipe the camera lens with a microfiber cloth to remove dust and dirt that can blur your recordings.
- Harness the Power of Natural Light: Whenever possible, position your camera in an area with ample natural light for optimal image quality.
Night Vision Prowess: Seeing in the Dark
Blink Outdoor cameras come equipped with powerful infrared (IR) LEDs for clear night vision. To optimize your nighttime footage, adjust the IR intensity:
- Low: Ideal for well-lit areas at night, saving battery life without sacrificing significant image quality.
- Medium: The go-to setting for most situations, providing a balanced level of visibility.
- High: Perfect for extremely dark environments, maximizing visibility even in low-light conditions.
Night Vision Modes: Taking Control
Blink cameras offer various night vision modes to suit your needs:
- Off: Disables night vision for situations where it’s not required.
- On: Keeps night vision continuously activated for uninterrupted monitoring throughout the night.
- Auto: Allows the camera to automatically adjust IR intensity based on ambient lighting conditions.
Motion Detection and Sensitivity
Motion detection is the backbone of your Blink Outdoor Camera’s security system. However, unoptimized settings can lead to a notification overload or missed events. This section empowers you to fine-tune motion detection zones and sensitivity for a truly customized security experience.
Creating Targeted Motion Detection Zones
Not all movement in your camera’s view deserves your attention. Blink cameras allow you to create custom motion detection zones, allowing you to zero in on specific areas you want to monitor. This eliminates unnecessary alerts triggered by:
- Street traffic: Busy roads can trigger constant notifications.
- Neighboring Activity: Focus on your property, not your neighbor’s.
- Wandering Wildlife: Squirrels and stray cats shouldn’t trigger security alerts.
Setting Up Activity Zones (Step-by-Step)

- Access Camera Settings: Launch the Blink app and navigate to the desired camera’s settings page.
- Activate Zones: Locate the “Zones” section and select “Activity Zone.”
- Draw Your Focus Area: On the live camera feed, use the drawing tool to create up to three rectangular zones. These will be the areas where motion detection is active.
- Minimize False Alarms: Tap and drag to gray out unwanted areas in the live view. This ensures the camera ignores activity in those zones.
- Save Your Customization: Click “Done” to confirm your customized activity zones.
Optimizing Motion Detection Sensitivity
The motion detection sensitivity setting determines how much movement is required to trigger an alert. Here’s why finding the right balance is crucial:
- High Sensitivity: Might capture everything, leading to excessive notifications from wind, pets, or swaying branches.
- Low Sensitivity: Could miss important events like someone approaching your doorway.
Calibrate for Optimal Performance: Adjusting Sensitivity
- Open the Blink app, launch it on your smartphone or tablet.
- Select Your Camera: From the main screen, identify the camera you want to adjust and tap the settings icon next to its thumbnail.
- Slide to Perfection: Use the sensitivity bar to choose your desired level. A moderate setting is a good starting point.
- Save and Observe: Tap “Save” to confirm the new sensitivity setting. Monitor your camera’s performance and adjust further if needed.
Pro Tip: Experiment with different sensitivity levels to find the ideal balance for your environment.
Minimizing False Alarms: Additional Strategies
- Strategic Placement: Install your camera at an appropriate height and angle to avoid capturing unnecessary ground motion.
- Stable Mounting: Use the included mount to secure your camera, preventing false alerts caused by wind or vibrations.
- Clear View, Clear Recordings: Regularly clean the camera lens to ensure a clear view and minimize false alarms triggered by dust or debris.
By implementing these steps and following the best practices, you can configure your Blink camera’s motion detection and sensitivity settings to focus on what truly matters – receiving timely alerts for genuine security events and keeping your property secure.
Maximize Battery Life and Manage Power
Blink Outdoor Cameras rely on batteries, so optimizing their lifespan is crucial for uninterrupted security. This section equips you with essential strategies to extend battery life and manage your camera’s power consumption effectively.
Extend Battery Life: Smart Strategies
- Schedule Activation: Set your camera to be active only during specific security-critical hours, minimizing battery drain during inactive periods.
- Fine-Tune Sensitivity: Adjust camera sensitivity and define detection zones to minimize unnecessary activations and motion alerts.
- Utilize Sleep Mode: Conserve battery life by activating sleep mode when real-time monitoring isn’t essential (like at night).
Optimize Clip Length for Balance

Clip length determines recorded video duration. While the default is 5 seconds, adjust it for up to 60 seconds based on your needs. Remember, longer clips capture more detail but consume more battery and storage space.
Setting Clip Length (Quick Guide):
- Launch the Blink App: Open the Blink app and log in.
- Select Camera: Identify the camera and tap the settings icon next to its live view.
- Customize Clip Length: Use the clip length bar to choose your desired duration.
- Optimize Storage (Optional): Enable “End Clip Early If Motion Stops” to conserve resources by stopping recordings when motion detection ceases.
Solar Power: A Sustainable Option

For a continuous and eco-friendly power source, consider integrating a solar panel for Blink cameras. This eliminates frequent battery replacements, offering a cost-effective and long-term solution.
Monitor Camera Temperature with Alerts
Blink Outdoor Cameras are built tough, but extreme temperatures can impact functionality.
Set Up Temperature Alerts (Quick Guide):
- Open the Blink App: Launch the Blink app and log in.
- Select Camera: Identify the camera and tap the settings icon next to its live view.
- Activate Temperature Alerts: Within the “Monitoring” tab, select “Temperature” and activate the “Temperature Alert” option.
- Set Thresholds: Define your desired temperature limits by adjusting the “Heat Alert Above” and “Cold Alert Above” values.
By implementing these power management strategies, you can ensure your Blink Outdoor Camera operates efficiently and delivers reliable security monitoring for extended periods.
FAQ’s
How do I get the best out of my Blink camera?
For peak Blink camera performance:
Fine-tune motion zones & sensitivity: Focus on what matters, minimize false alarms.
Balance image quality & storage: Standard (720p) is a good middle ground.
Manage power: Schedule active hours, utilize sleep mode, consider solar power.
These tweaks will optimize your Blink camera for effective security monitoring.
Should Blink sensitivity be low or high?
For Blink cameras, a moderate sensitivity setting is ideal. Here’s why:
High sensitivity: Captures everything, leading to excessive notifications from wind, pets, or even swaying branches.
Low sensitivity: Might miss important events like someone approaching your doorway.
A moderate setting helps you strike a balance between capturing important activity and minimizing false alarms. You can then fine-tune it further based on your specific needs and environment.
How to make Blink camera clearer?
There are two main ways to make your Blink camera footage clearer:
Optimize Image Quality:
Resolution: Choose “Standard” (720p) for a good balance of clarity and storage use.
Cleanliness: Regularly wipe the camera lens with a microfiber cloth to remove dust and debris.
Positioning: Mount the camera strategically to avoid obstructions and maximize natural light.
Night Vision:
Adjust IR Intensity: Use “Low” in well-lit areas, “Medium” for most situations, and “High” for pitch-black environments.
By following these tips, you can significantly improve the clarity of your Blink camera recordings.
Why is my Blink camera so blurry at night?
There are two main reasons why your Blink camera might be blurry at night:
Low Light Conditions: Blink cameras rely on infrared (IR) light for night vision, but in very dark environments, the IR intensity might be insufficient.
Dirty Lens: A dirty camera lens can obstruct light and blur your recordings, even at night.
Here’s how to fix it:
Adjust IR Intensity: Try increasing the IR intensity in the Blink app settings. This will boost the night vision strength.
Clean the Lens: Wipe the camera lens gently with a microfiber cloth to remove any dust or debris.
What is IR intensity on Blink?
IR intensity on Blink cameras refers to the strength of the infrared (IR) LEDs used for night vision. It controls how much invisible infrared light the camera emits to illuminate the scene in low-light conditions.
Here’s a breakdown of IR intensity settings on Blink cameras:
Low: Ideal for well-lit areas at night. Saves battery life and offers some night vision assistance.
Medium: The go-to setting for most situations, providing a balanced level of visibility and IR illumination.
High: Perfect for extremely dark environments, maximizing visibility with stronger IR light but draining the battery faster.
Conclusion
This guide has empowered you to become a Blink camera pro (Best Settings for Blink Outdoor Camera). Here’s a quick recap:
- Fine-tune motion: Focus on what matters, minimize false alarms with zones and sensitivity settings.
- Optimize image quality: Balance clarity with storage (Standard 720p is a good option). Clean lens and position strategically.
- Manage power: Schedule active hours, utilize sleep mode, consider solar power.
By following these tips and exploring the Blink app’s customization options, you can personalize your Blink camera for optimal performance and achieve ultimate security peace of mind.
RELATED POSTS:
Remove Blink Doorbell Without Tools

