
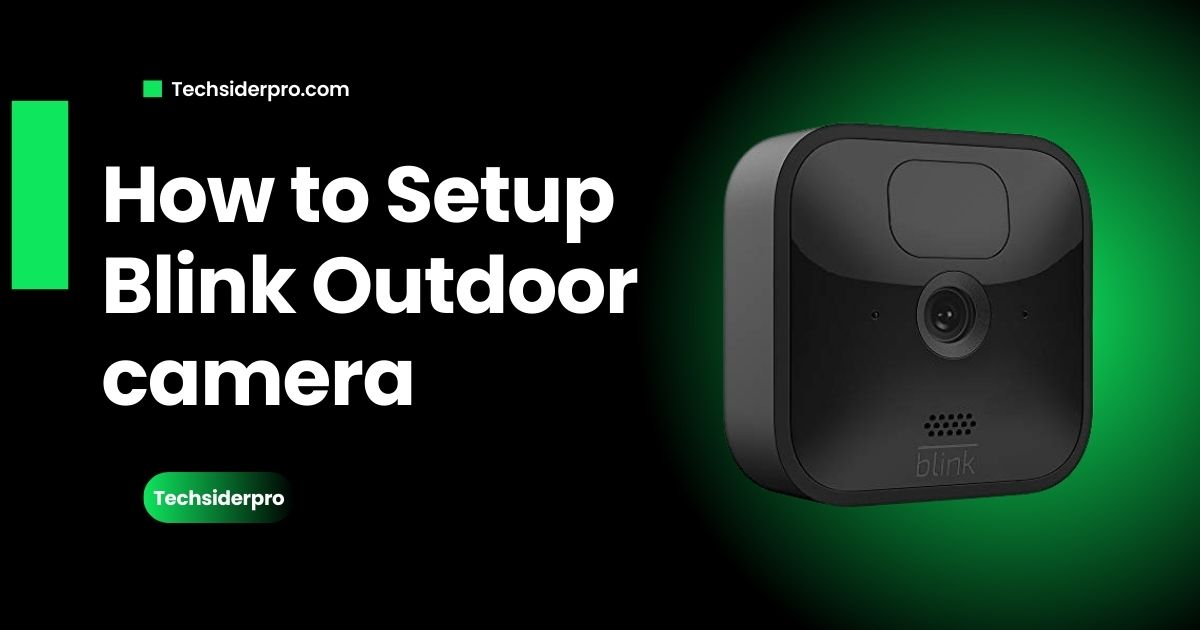
Setting up a Blink Outdoor Camera is an essential step in enhancing the security of your home. Whether you’re installing a camera for the first time or upgrading your existing system, this guide will walk you through the process. With my extensive experience in setting up Blink cameras, I’ll share tips and insights to make your installation smooth and hassle-free.

Getting Started
Make sure to gather all the required tools and materials before getting started.
- Get the Blink App: Begin by downloading the Blink app onto your smartphone or tablet. It’s available for both iOS and Android devices, and you can find it in the App Store or Google Play.
- Create a New Blink Account: Once the app is installed, open it and create a new Blink account by entering your email address and password. This account will serve as the central hub for managing all your Blink devices.
- Ensure Wi-Fi Network Stability: Your Wi-Fi network plays a crucial role in the camera’s performance. Make sure it’s stable and meets the minimum system requirements outlined by Blink. This will prevent connectivity issues later on.
Setting Up Your Camera

With the app ready and your account set up, it’s time to get your camera operational:
- Insert the Batteries: Start by unscrewing the back panel of the Blink Outdoor Camera and inserting the batteries. The camera runs on two AA lithium batteries, providing a longer-lasting power supply.
- Add Your Camera to the Blink App: Open the Blink app, tap on the “+” icon in the upper-right-hand corner, and select “Blink Wireless Camera.” You’ll be prompted to scan the QR code inside the battery compartment. This step connects your camera to the app.
- Finish the Setup: Adhere to the on-screen prompts to complete the setup process. If you have a Sync Module, plug it into a power outlet near your Wi-Fi router and scan its QR code in the app. The Sync Module is essential for enabling smooth communication between your Blink cameras and the app.
Adding a Sync Module and Setting Up a New System
If you’re adding a Sync Module to your Blink system, follow these steps:
- To begin setting up the Sync Module, open the Blink app and select the ‘+’ icon on the Home screen to start the process of adding a new device. Choose Sync Module from the list.
- Scan the QR Code: You’ll be prompted to scan the QR code located on the back of your Sync Module. If you prefer, you can also enter the serial number manually. Allow the Blink app to access your camera if prompted.
- Create a New System: After the QR code is recognized, you’ll be asked to name your new system. Choose a unique name and tap Continue.
- Power Up the Sync Module: Plug in your Sync Module and wait for the lights to blink blue and stay steady green. Once this pattern appears, tap Discover Device in the app.
- Note: Important: If the blue light isn’t blinking, a reset of the Sync Module might be required. Follow the instructions for resetting if needed.
- Connect to the Sync Module’s Network: Your mobile device will momentarily join the Sync Module’s Wi-Fi network, identified as “BLINK-_ _ _ _” with the last four digits. matching your Sync Module’s serial number. Tap Join to connect.
- Join Your Local Wi-Fi: Once connected to the Sync Module, select your home Wi-Fi network from the list, enter the password, and tap Join.
- Complete the Setup: After your Sync Module is successfully connected to the Blink system, a confirmation screen will appear. Tap Done to finish. You’ll see your new system name on the Home screen, along with a green cloud icon indicating the Sync Module is communicating with Blink servers.
Removing the Back Cover and Inserting Batteries
To install or replace batteries in your Blink Outdoor Camera:
- Prepare the Camera: Before you start, make sure the camera is not attached to any mounts or accessories.
- If the camera is new, remove any stickers that indicate how to open the back cover.
- Remove the Back Cover:
- If there’s a silicone cover on the fastening screw, remove it and keep it safe.
- Use the provided tool or a coin to turn the screw counter-clockwise until it’s loose.
- Insert the tool into the slot, apply a little pressure, and gently pry the back cover off.
- Alternative method: After loosening the screw, flip the tool around and insert it into the hole on the back cover. Gently pull back to remove the cover.
- Insert the Batteries: With the back cover off, insert two AA lithium batteries, ensuring they match the + and – symbols inside the camera.
- Reattach the Back Cover: Align the notches and press the cover back onto the camera. Tighten the screw clockwise, but be careful not to over-tighten. The cover should fit snugly and be flush with the camera body.
Mounting and Placement
Proper placement is key to maximizing your camera’s effectiveness:
- Choose the Right Location: Position the camera where it can best capture the area you want to monitor. Common locations include entryways, driveways, and backyards.
- Mount the Camera: Use the included mounting bracket and screws to attach the camera to the wall or ceiling. The Blink Outdoor Camera is designed to withstand the elements, so don’t worry about exposure to rain or snow.
- Adjust the Camera Angle: The camera’s adjustable mount allows you to fine-tune the angle for optimal coverage. Make sure to avoid pointing the camera at areas with excessive movement, like busy roads or waving branches, to reduce false alerts.
- Consider Motion Detection: The Blink camera’s motion detection feature is a powerful tool for security. Position the camera so it can effectively detect motion in critical areas without unnecessary triggers.
Configuring Camera Settings
Once your camera is in place, it’s time to configure the settings to suit your needs:
- Motion Detection Settings: Adjust the motion detection sensitivity and range to ensure that the camera only captures relevant activity. You can fine-tune these settings in the Blink app.
- Video Quality and Recording Length: Depending on your needs, choose the video quality and set the recording length for each clip. Higher quality video will use more storage, so balance your needs accordingly.
- Arm/Disarm Schedule: Set a schedule for when your camera is active. This feature is useful for automating the security of your home based on your routine.
- Customize Additional Settings: Explore other settings in the app, such as motion activity zones and privacy zones, to tailor your camera’s performance to your environment.
Testing and Troubleshooting
With everything set up, it’s crucial to test your system:
- Test Motion Detection: Move in front of the camera to activate and test its motion detection feature. Check the recorded video in the Blink Home Monitor app to ensure it captured the event correctly.
- Review Recorded Videos: Regularly check the videos recorded by your Blink device. This helps verify that the camera is working correctly and that it’s capturing useful footage.
- Troubleshoot Common Issues: If you encounter any issues, such as connectivity problems or poor video quality, refer to the troubleshooting section in the Blink app or contact Blink support for assistance.
- Check Wi-Fi Connection: Ensure that your camera is consistently connected to your Wi-Fi network. A strong and stable connection is vital for continuous monitoring.
Frequently Asked Questions
Do you need Wi-Fi to set up the Blink camera?
Yes, a stable Wi-Fi connection is essential for setting up and operating the Blink Outdoor Camera.
How can I connect my Blink camera to Wi-Fi?
During setup, the Blink app will guide you through connecting your camera to your Wi-Fi network.
What is the process for setting up my Blink camera for outdoor use?
Simply follow the same steps outlined above, and choose a weather-resistant location for your camera.
Are Blink cameras easy to set up?
Absolutely! Blink cameras are designed with user-friendliness in mind, making the setup process quick and easy.
What are the minimum system requirements for the Blink app?
The Blink app requires iOS 12.5 or later for Apple devices, and Android 5.0 or later for Android devices.
This guide on how to set up Blink Outdoor Camera should make your installation process straightforward and stress-free. By following these steps, you’ll have your Blink camera up and running in no time, providing you with the security and peace of mind you need.
RELATED POSTS:
Best Settings for Blink Outdoor Camera (Step-By-Step)
The Easy Way to Remove Blink Doorbell Without Tools: A Step-by-Step Guide